These are photo’s of me doing a front disk brake job on my 2000 Chevrolet Impala a few month’s back. For whatever reason I never got around to posting photo’s. It’s not really meant to be a “how to” as this was done a few month’s back and I didn’t take any note. This will give you an idea of what you’ll see if you should attempt to do this yourself. It’s not very hard to do if your mechanically inclined. I’ll be changing both the brake pads and rotors.In the old days one might get the rotors turned but, I know of no one that actually does that these days.
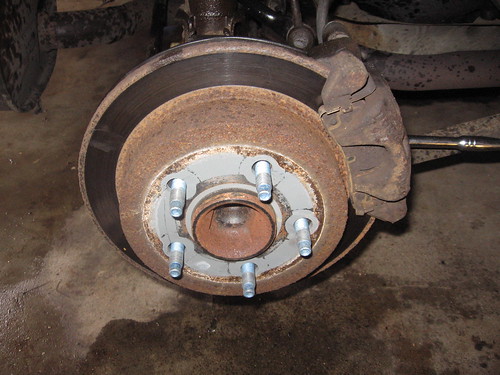
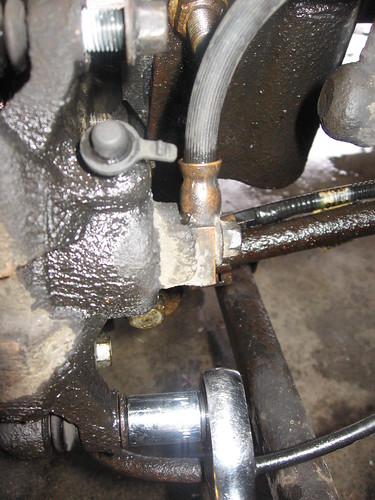
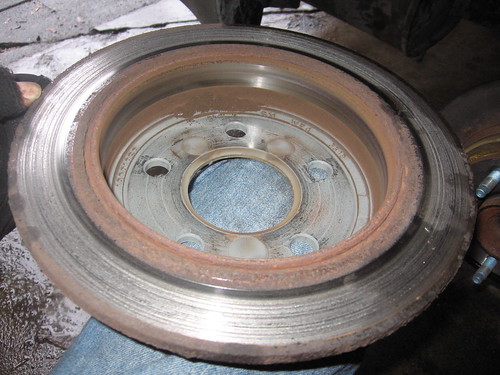
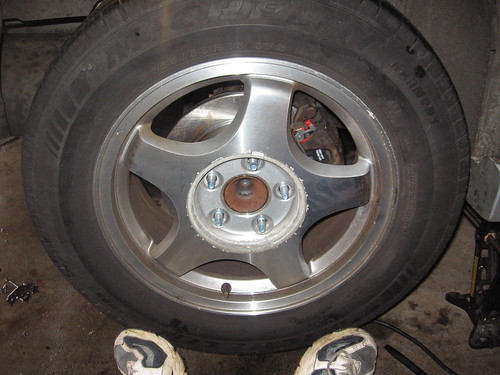
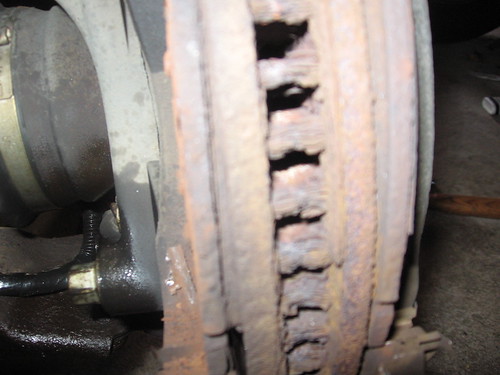
If you haven’t guessed it this is how it looked when I first pulled the the wheels off. This being the first time since owning the car for five years these brakes don’t owe me anything. They’ve performed as they should without problems until now.
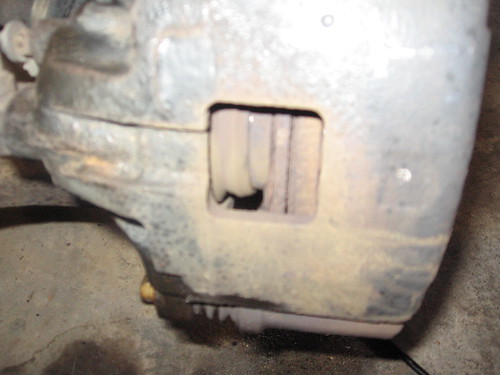
If you can see it in the little window you can see the back plate(steel) of the pad is in contact with the rotor. This is bad and should be replaced.
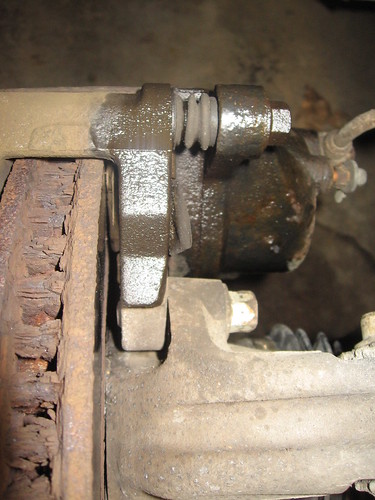
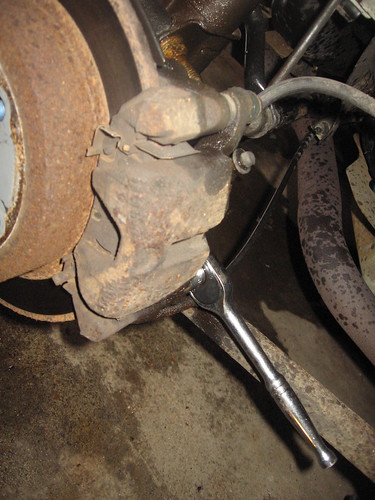
As you can see I applied a liberal dose of spray lubricant. There are four bolts to remove and they don’t like coming off.
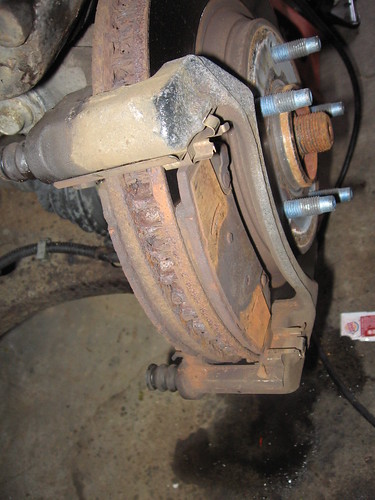
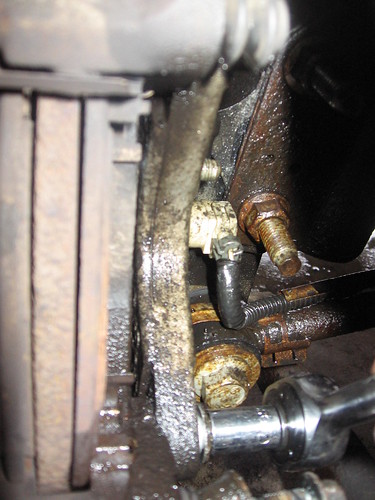
After removing the two outer bolts I removed the inner part off the caliper. We now have access to the brake pads. We can now really see how bad these pads were.
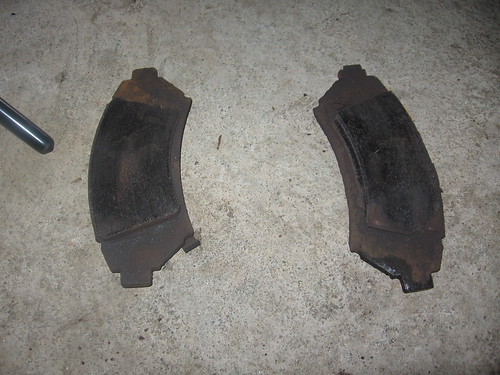
As you can see there isn’t much left of these pads.
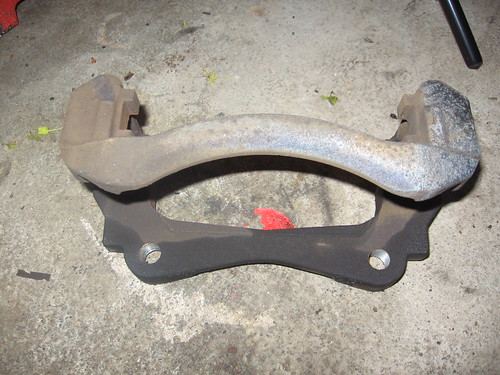
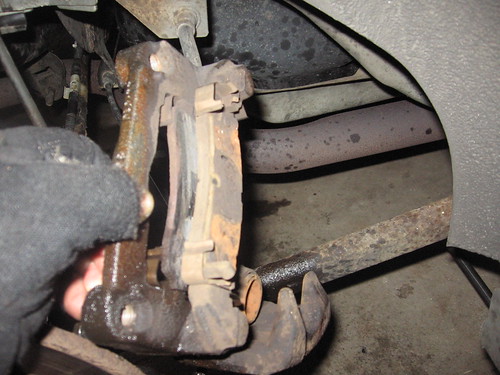
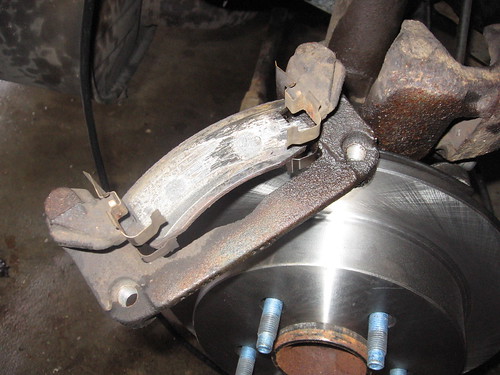
The second part of the caliper is removed. This is the first vehicle I’ve done with this type of caliper.
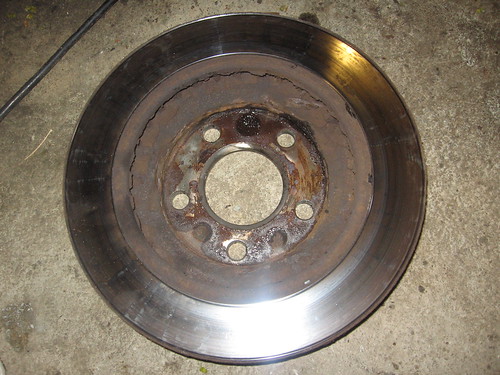
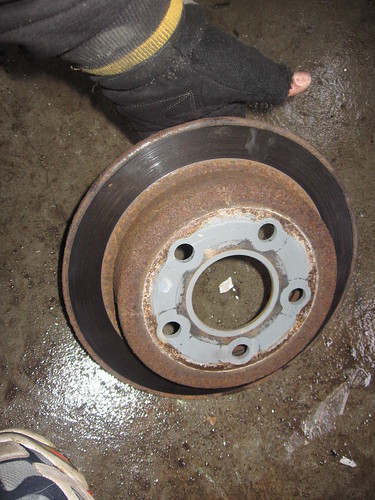
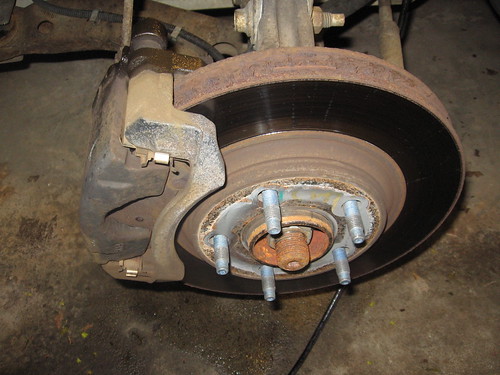
What the inside of the rotors looked like.

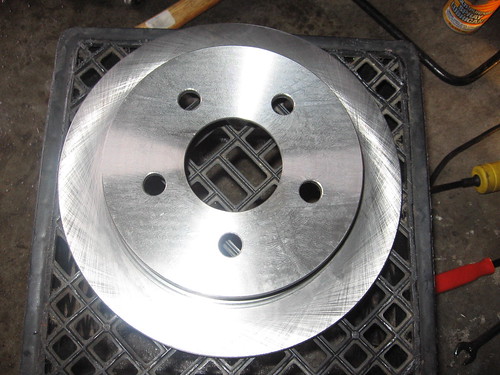
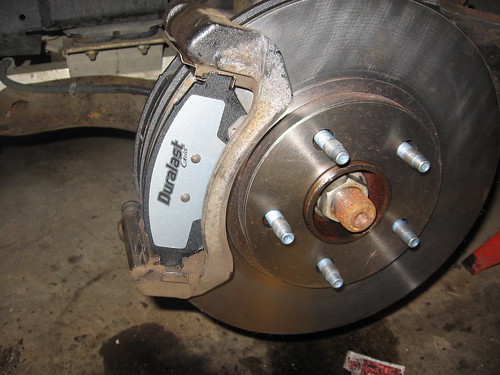
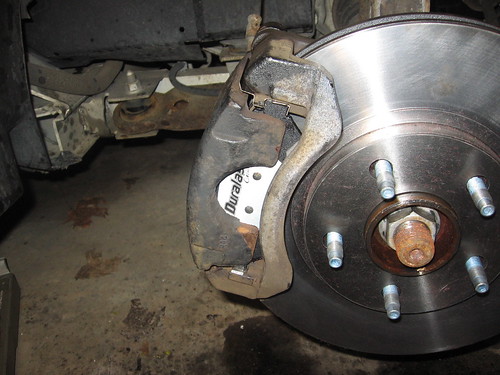
My nice new rotor from AutoZone(Duralast Part No.55034) is installed.
Brake Pads(AutoZone, Duralast Gold Part# DG699)are now installed.
Everything is now back together. That was fun wasn’t it? The next side was pretty much the same. This will at least give you an idea of what lies ahead should you try this yourself. Thanks for coming by and have a great day!